• Skip to primary navigation
  • Skip to main content
HE Travel

HE Travel

Gay travel and tours on all seven continents!

  • Calendar
  • Destinations
    • Bucket List Destination
    • Africa & Middle East
    • Antarctica & Arctic
    • Asia & India
    • Caribbean & Central America
    • Europe
    • North America
    • Oceania
    • South America
    • Show All
  • Tours
    • Custom Tours
    • A to Z Tours by Location
    • Adventure Tours
    • Adrenaline Club
    • Biking Tours
    • Culinary Tours
    • Cultural Tours
    • Gay Cruises
    • Physical Activity Level
      • 1
      • 2
      • 3
      • 4
      • All Gay Tours by Activity Level
    • Self Guided Tours
    • All Tours
  • Blog
  • Media
    • 360 Degree Tour Galleries
    • Tour Gallery
    • Videos
      • Tour Videos
      • 360 Degree Videos
    • Gay Travel Books by Hanns Ebensten
    • Plant-A-Tree Program
  • Questions?
    • Comparing Gay Vacations
    • FAQ
    • History
    • Deposits for Life
    • Gay Travel Specials
    • Terms and Conditions
    • HE Travel Inc. Privacy Policy
    • Testimonials
    • Travel Insurance
    • Questions About HE Travel
  • Contact
    • 800-825-9766
    • Newsletter Sign-Up
    • Reservations
    • Request Brochures
    • Send a Message
    • Site Map
    • Contact Us

Tutorial – VR Gallery

[vc_row][vc_column width=”1/4″][vc_column_text]

How to make a HET VR gallery

You must be logged into HET to run the wizard.[/vc_column_text][/vc_column][vc_column width=”3/4″][vc_column_text]The HET VR gallery wizard will do all the technical work. You can publish a single photosphere or a gallery with up to 20 photospheres.

Step 1: Turn on your computer.

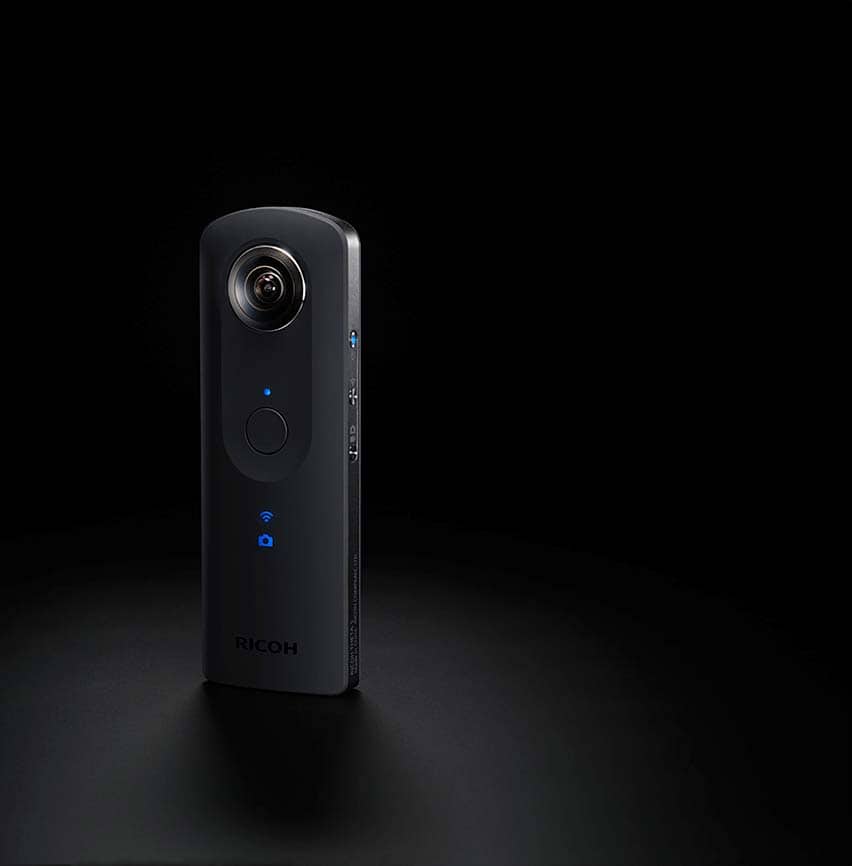
Step 2: Turn on your Theta.

Step 3: Plug your Theta into the computer using its cable.

Step 4: Windows file explorer will open. Copy the files to a folder on your computer.

Step 5: Look through the photospheres decide which ones you want in the gallery. A gallery can be up to 20 photospheres. If you have more good images than 20 then make more galleries. For example: China Part One, China Part Two etc.. Only use the best images for galleries. If there are a lot of images it’s easier to put the images you want in another folder or delete the ones you don’t want.

Step 6: Click the Start Wizard button and follow the directions.

  • It will ask you for a name for your gallery. Give it the name of the location. For instance: China.
  • It will then ask you to upload your photospheres and provide you with a file window. Pick up to 20 of them.
  • The wizard will build the gallery and make the graphics for the main menu link. It will provide a link to view the gallery when it’s done.
  • For now the wizard will notify Robert and he will add it to the main VR menu.
VR Gallery Wizard[/vc_column_text][/vc_column][/vc_row]

© 2025 Hanns Ebensten Travel

This site is protected by reCAPTCHA and the Google Privacy Policy and Terms of Service apply.

    Bike Tour


    Please check your junk folder in case important emails from us end up there.

      Splash! Tour


      Please check your junk folder in case important emails from us end up there.

        Colorado Ranch Tour


        Please check your junk folder in case important emails from us end up there.

          HE Travel


          Please check your junk folder in case important emails from us end up there.

          ↑

            HE Travel


            Please check your junk folder in case important emails from us end up there.

              Bike Tour


              Please check your junk folder in case important emails from us end up there.

                Splash! Tour


                Please check your junk folder in case important emails from us end up there.

                  Colorado Ranch Tour


                  Please check your junk folder in case important emails from us end up there.